Getting started
Create and export your first sign, step by step.
This guide takes you from a blank page to a sign that's ready to print. It should take about five minutes.
1. Open the editor
Head to the Sign Generator. On your first visit you'll see a table full of example signs — the presets. Click any of them to use it as a starting point, or close the picker to start with the default sign. You can come back to the presets at any time with the Presets button at the top of the screen.

Nothing you do is final
Every setting can be changed at any time, and picking a preset just replaces what's on your screen. Feel free to experiment.
2. Find your way around
The editor has three areas:
- The 3D preview in the middle shows your sign exactly as it will print. Drag to rotate, scroll (or pinch) to zoom, and drag with the right mouse button to move sideways.
- The left panel holds your text lines.
- The right panel holds everything else: the sign's shape and colors, the icon, and the QR code.
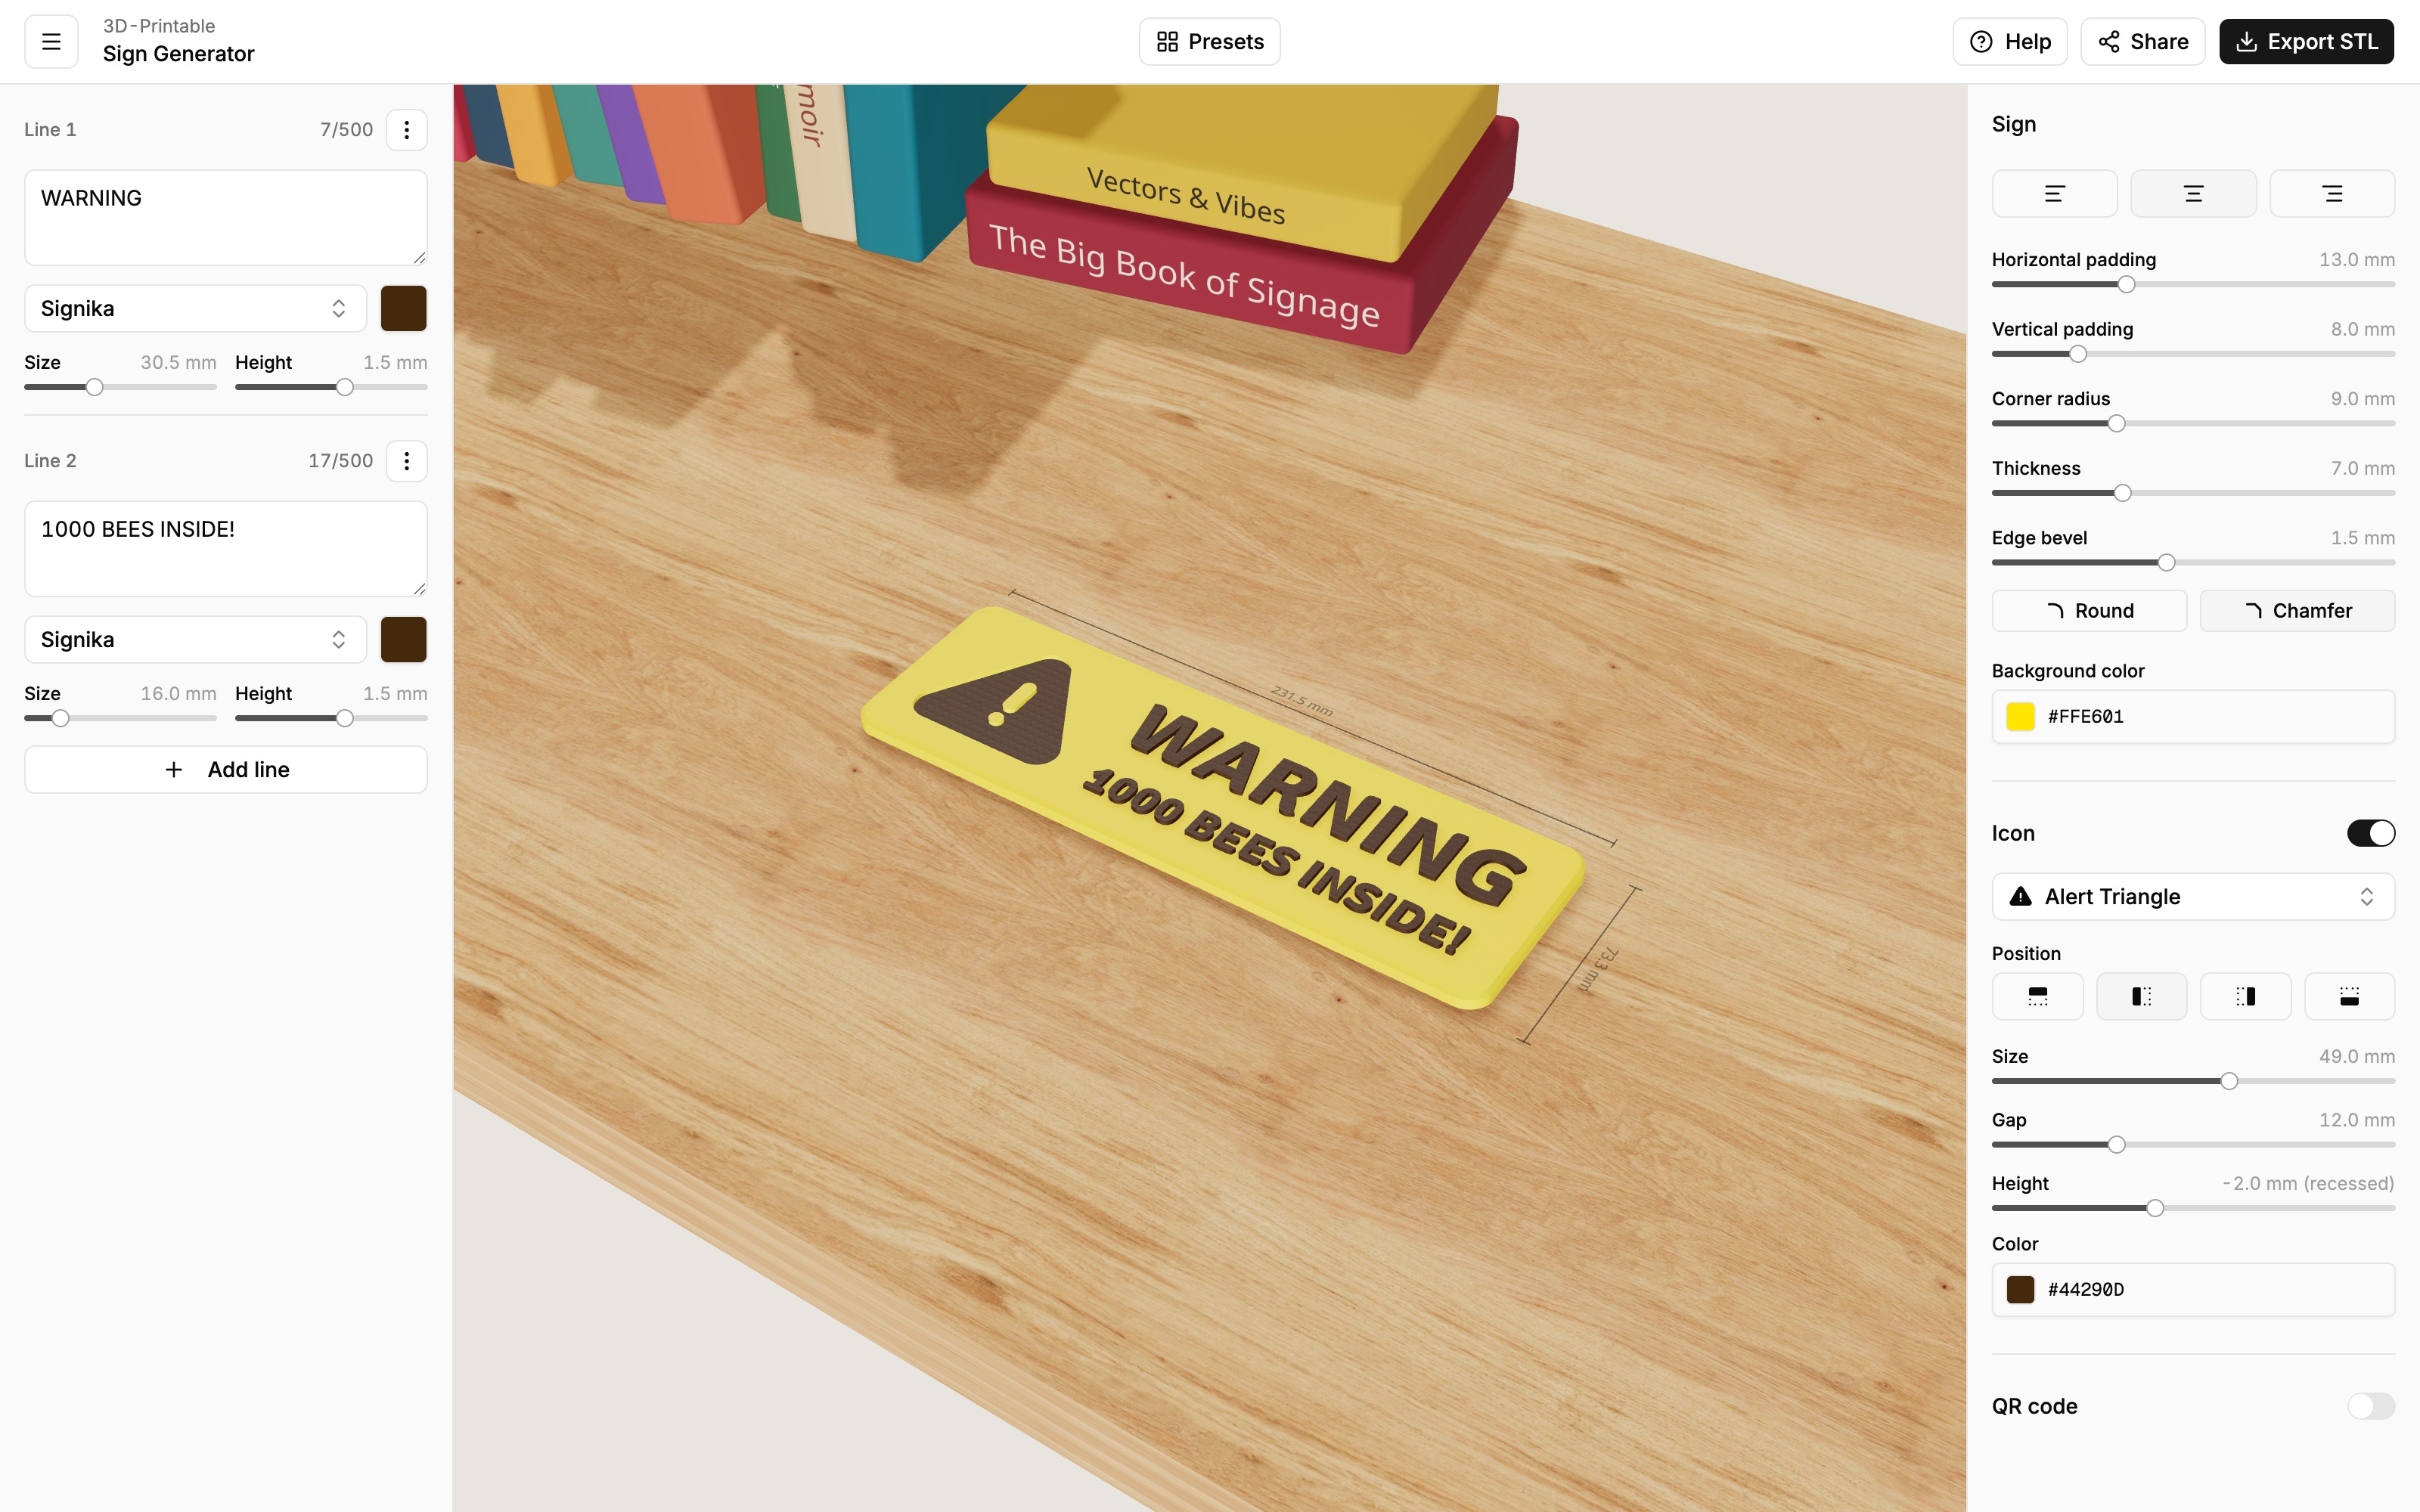
3. Write your text
In the left panel, type your text into the first line. Click Add line for more lines — each line gets its own font, size and color, which is how you mix a big headline with smaller text underneath. See the Text guide for fonts, spacing and text wrapping.
4. Make it yours
- Pick a font and color for each line.
- Choose the sign's background color in the right panel.
- Adjust the sign's shape: rounded corners, thickness, padding and beveled edges — all in the Sign panel.
- Optionally add an icon or a QR code.
The sign automatically grows and shrinks to fit your content, and the faint lines around the sign in the preview show its real-world measurements.
5. Check the size
All sizes are real physical measurements (millimeters by default — you can switch to inches in the menu at the top left). Zoom in on the preview and check the measurement lines around the sign. If the sign is bigger than your printer's bed, reduce the text size or padding.
6. Export and print
Click Export STL at the top right, then Download STL (.zip). You'll get a ZIP file containing one print file per part of your sign, ready for your slicer:
- Exporting explains the download and the optional QR code on the back of the sign.
- Printing walks you through setting up the print, with screenshots.
Don't lose your work
Your design is saved in the page's web address as you edit. To keep a sign or continue later, copy the link with the Share button (or just bookmark the page). See Saving & sharing.