Exporting & cutting
Download your box as SVG cut files and send them to a laser cutter.
When your box looks right, it's time to download the cut files.
Download the files
Click Export SVG at the top right. Give the file a name and click Download SVG (.zip).
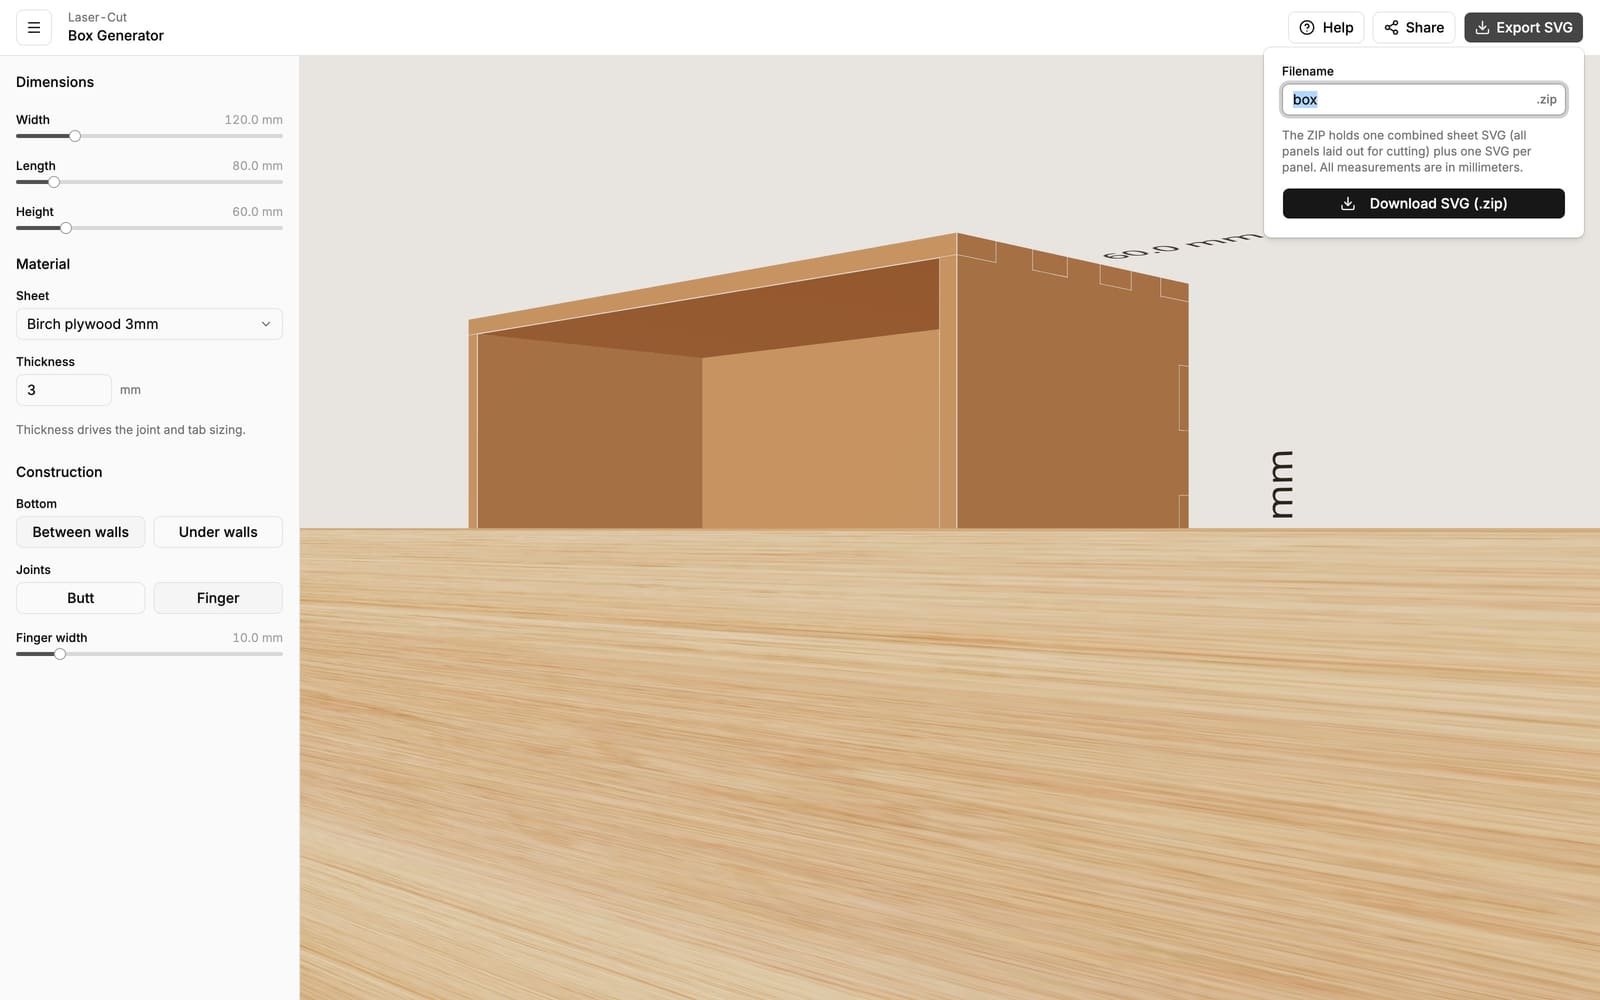
The ZIP contains:
- One combined sheet —
yourname-sheet.svg, with all five panels laid out side by side, ready to cut in a single job. - One file per panel —
yourname-front.svg,-back.svg,-left.svg,-right.svgand-bottom.svg, in case you want to arrange or cut them individually.
Every file is drawn at true physical size in millimeters.
Reading a cut file
- Black hairlines are cut lines. They're drawn with no fill and a very thin (0.1 mm) stroke, which laser software reads as a vector cut.
- The combined sheet also has a faint gray labels layer — the panel name and its size, printed inside each panel. These are just a reference to help you keep track of the parts. They're not meant to be cut; hide or delete that layer, or set it to "ignore", before you run the job.
In your laser-cutter software
- Import the combined sheet (or the individual panels) into your laser program — LightBurn, xTool, Glowforge, Inkscape with a cutter extension, and similar tools all open SVG.
- Check the size. Confirm the design imported at the right scale — the width and length should match what you set in the app. If your software asks about units on import, choose millimeters. SVGs occasionally come in at the wrong scale (a common culprit is a 96 vs. 72 DPI assumption); if the numbers look off, scale the design to the correct overall size.
- Set cut vs. ignore. Assign the black cut lines to a cut/vector operation at settings for your material and thickness. Remove or ignore the gray labels layer.
- Cut a test first. Especially with finger joints, cut one corner or a small test box before committing a full sheet.
About fit and kerf
A laser removes a thin strip of material as it cuts — the kerf, usually around 0.1–0.2 mm. The generator draws joints at their exact nominal size and does not currently add kerf compensation, so finger joints tend to come out with a very slightly loose, glue-friendly fit. If you need a press-fit, the simplest levers are:
- Enter your real measured material thickness.
- Tune your laser so its kerf is small and consistent.
- Cut a quick test corner and adjust before the full run.
A dab of wood glue or acrylic cement in the joints makes for a strong, permanent box.